How to manage leave from the self-service portal [KeyPay]
Updated: 11/07/2025
Article #: 345
Employees can manage their leave directly from the KeyPay Self-service Employee Portal.
Leave Management may include (pending on the admin configuration settings):
- View leave balances
- View previous leave request and their status
- Submit leave applications
View Leave Balances & Leave History
- Leave Balances are visible from the employee's dashboard of the Self-service Portal
è The Employee Portal Dashboard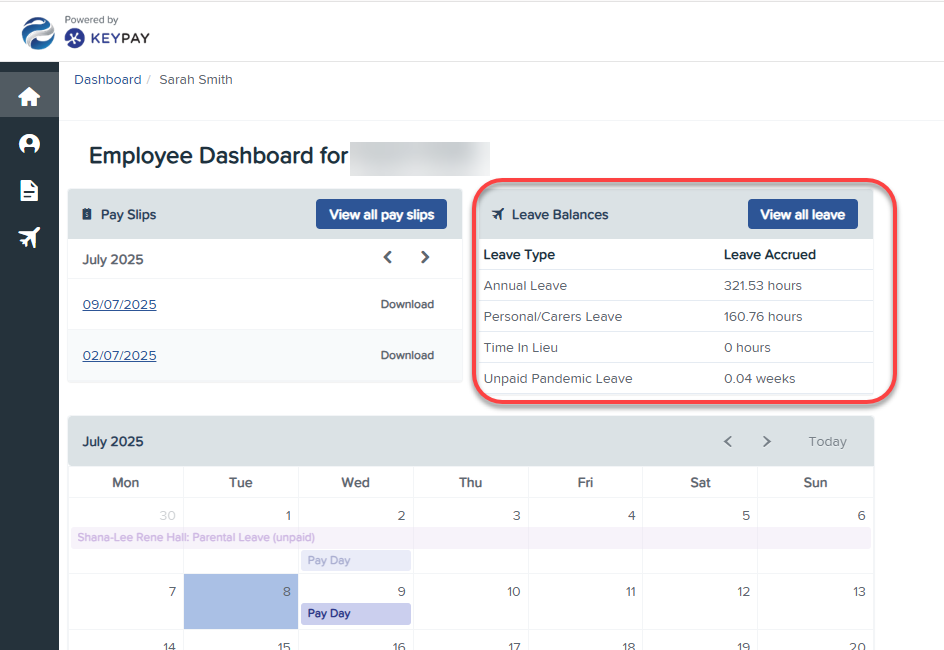
- To access more Leave information click on [View All Leave]
è The Employee Leave screen
- From this screen you can:
- View your leave balances (same as from the Dashboard)
- View your leave taken history
- View all your current and future leave requests and their approval status
Apply for Leave
- From the Leave screen click on [Apply for Leave]
è The Apply for Leave panel opens on the side of the employee portal
- Select/enter the following details:
- Leave Category > select the type of leave you wish to apply for
Note: once you selected the leave type, the available leave balances for the selected leave will display on the screen - First day of leave > select the first day of your planned leave period
- Last day of leave > select the last day of your planned leave period
Note: this is not the day you plan to return to work - Confirm/amend the total estimated leave hours
- Notes > type the reason of your leave applications
- Leave Category > select the type of leave you wish to apply for
- To add any documents to your leave application (for example, a Medical Certificate), click on [+Add] and select the relevant document saved in your computer
- Once you have entered all the relevant leave information, click on [Submit Request]
Apply for Leave from the Employee Portal Training Video
|
Rate this Topic:
|
|||
|